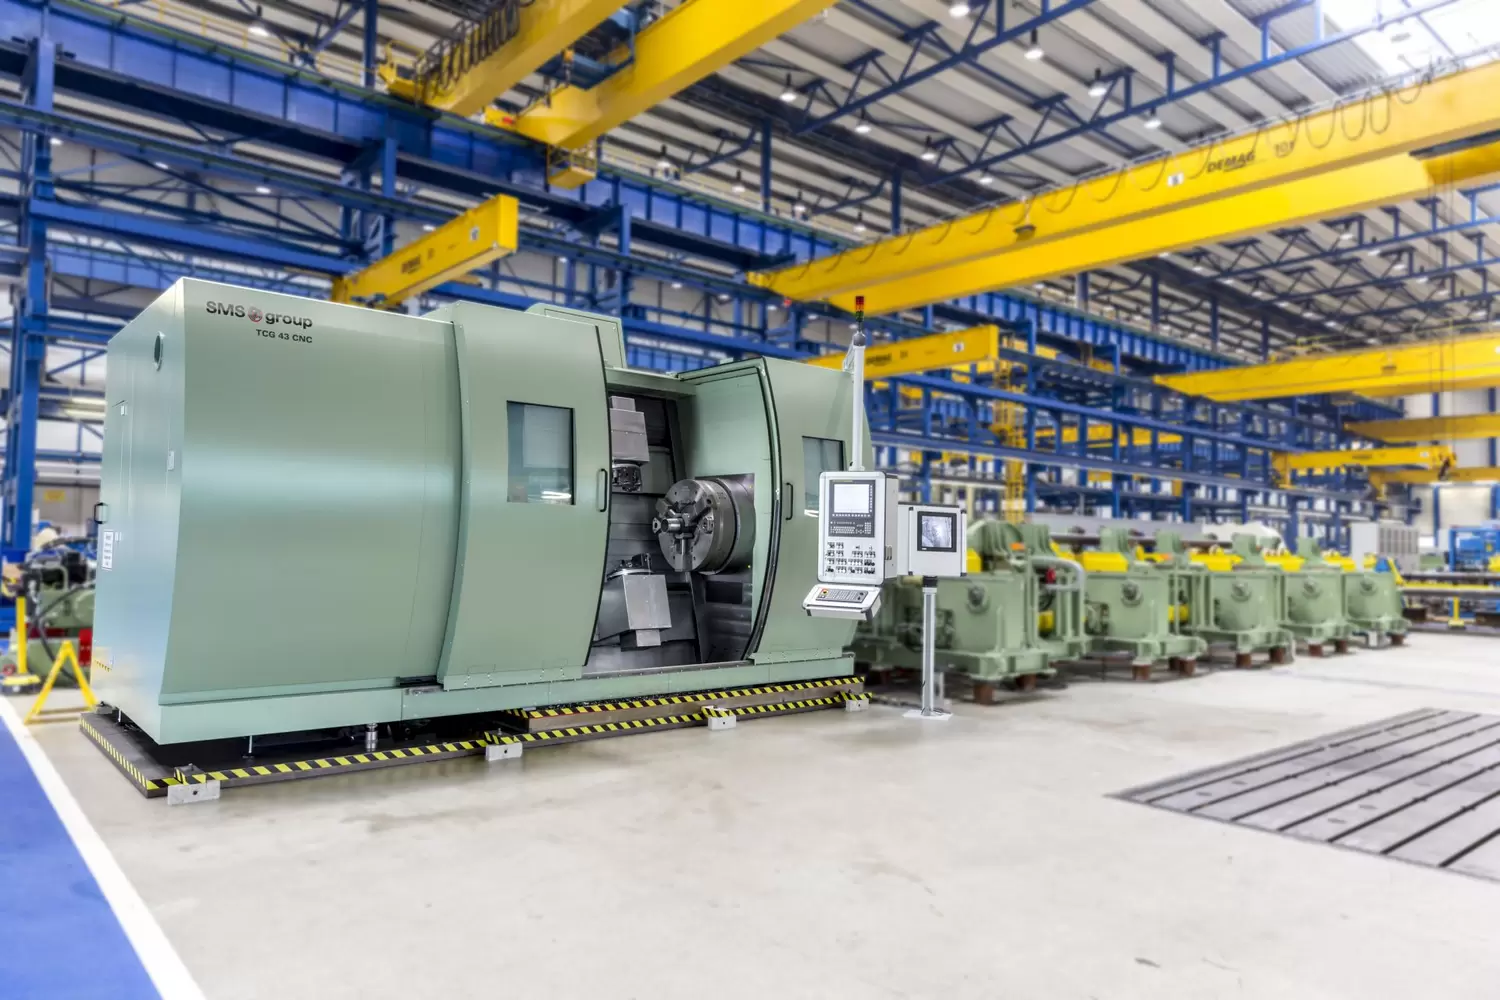
The inspection of threads and sealing lips of oilfield tubulars has so far only been carried out manually and therefore only randomly. The optical measuring system ThreadView enables the completely autonomous measurement, evaluation and documentation of pipe ends and even premium threads.
SMS group accompanies its customers during the entire process of seamless tube production – from a continuously cast bloom up to the finished tube. The seamless tubes are often processed on our thread-cutting machines and are used worldwide as oilfield tubulars – also known as OCTG tubes. Our machines provide high-quality finished OCTG to international standards, such as API or GOST.
Regular checks are indispensable to ensure proper quality of cut threads. So far, the examination was possible only manually – i.e. by hand – and thus was a time-intensive challenge. The consequence: tube ends for oilfield tubulars could only be inspected randomly and not to the full extent.

Autonomous measurement, evaluation and documentation of pipe ends
This issue prompted SMS group to expand its portfolio by a thread measurement system: ThreadView is intended to support customers with quality assurance and should be fully integrated in the thread cutting line. The process allows for measuring, evaluating and documenting pipe ends following the cutting process. Thereby, ThreadView operates fully autonomously measuring 100 percent of the cut threads. In this way, inaccuracies, defective tools and tube ovalities are detected within a very short period of time and the productivity of the finishing line is steadily increased.
But it is not only the infinitely variable diameter adaptation that makes the measuring system unique. With the aid of the technology applied it is also possible to measure the so-called premium threads for OCTG. The helical angle at the tooth of premium threads is negative and therefore cannot be detected with conventional measuring technology. The thread is scanned with cameras and additional optical sensors and then compared with specified dimensions. As the only system capable of measuring the premium thread, ThreadView offers a particular added value to our customers. Here, no limits are set to the individuality of the threads consisting of various thread and sealing lip types. The software of the innovative measuring system provides the possibility to configure and combine thread and sealing lips freely – comparable with a modular system. In this way, specific tube joints can be defined and adapted at any time by the customer himself.
Documentation of measuring results
The measured data recorded are shown by ThreadView in tabular form. In this case, a line corresponds to a measured tube. Thanks to the colored background according to the traffic-light system, faulty threads can be recognized at first sight. To obtain a more detailed view a double click on the corresponding tube is sufficient. In response, all measured values are compared with their target values in a popup window. The grade is also marked by means of a colored background so that deviations are quickly and easily identified.
In addition to the numeric measurements the contour of the measured thread in this display is compared with the target contour. In this way, occurring errors can be additionally examined and understood.
View into the future
With ThreadView SMS group sets an autonomous optical measuring system against the market requirements enabling a 100 % inspection – even with premium threads. Consequently, the system combines two unprecedented options.
An added value for the customer is that the process data obtained by means of ThreadView can be analyzed in future even more effectively, i.e. ThreadView could help for instance to predict the time of the next tool breakage.
